
Making a Sap Sheath
I love a good sap. I think it’s a fantastic weapon that’s easy to discreetly carry. If you choose to carry one, I highly recommend you get some training on it, as it can be both a lethal and non-lethal tool, depending on how you use it. You should also check your local laws, as saps (and blackjacks, etc.) are not legal in all places.
For those who may be unfamiliar, a sap is basically a thick piece of leather, roughly eight inches long (some longer, some shorter), with a lead weight sewn into it on one end. It serves as an impact weapon.
So how do we carry a sap? Probably the easiest way (for me) is strong side, back pocket. This is because my other tools are carried up front, forward of the hips. Appendix carry handgun, pocket knife, fixed blade, flashlight, and pepper spray are all carried in the front. This doesn’t leave room for much else, so strong side, back pocket seems to work.
There are a few downsides of carrying it this way. The first is that it’s difficult (if not impossible) to reach with the other hand. Go ahead and try to reach your right-side back pocket with your left hand. It can be done, but it’s definitely not a normal or easy motion. The other downside is, depending on the type/style of pants pockets, the sap may move around side-to-side throughout the day.
This is where the sheath comes in. The purpose of the sap sheath is to keep the sap oriented in the same position all throughout the day. This makes for a reliable, repeatable draw.
To give credit where credit is due, I first heard about this concept from Claude Werner, the Tactical Professor. You should be reading his blog; or better yet, subscribe to his patreon.
Check out this video of Claude showing his creation:
I really gained interest in this concept after attending Guy Schnitzler’s block on saps and blackjacks at the Combatives Association Summit in 2023. So much so that I attended his block at the Summit again in 2024, after which he and I had a great conversation about saps and carry methods. You should go train with him. Guy had a homemade sheath as part of his presentation, and that’s when I decided to tap into my creative side and make one myself.

The tools I used
To do this project, you will need a few things. Guy recommended using the Boston Leather 4-ply Midget Sap because it’s fairly well made, inexpensive, and easily obtainable. You will also need a sharpie, a knife, a stapler, an empty milk jug, and some tape. I went with gaff tape because it’s way less gunky than duct tape. This thing is going to be in your pocket; you don’t want to help it attract lint. While I used my EDC Spyderco Delica, if you want to make more precise cuts, you should probably use a razor blade knife or box cutter.

Don’t forget to rinse your milk jug (maybe several times) before you begin
After gathering the tools and supplies, the first step is to cut away all the flat surfaces on the milk jug. Cut as close to the curved edges as possible; that will give you more material to work with, which you will want later.

The flats cutout from several milk jugs
Next, lay your sap over one of the pieces you cut out of the milk jug. Use the Sharpie to trace the outline of the part you want to sit in the sheath. In this case, it’s the business end. Be sure to leave room all around the edges for the staples.

The traced outline
Repeat this process on a second piece of milk jug. Then line the two pieces up with the sap in-between. With everything lined up, staple around the bottom edge and slightly up each side to hold the two pieces together. The staples are not integral to the design of the sheath; they are just holding it together in-place while you assemble it with tape, so you don’t need to go overboard with this step.
Before removing the sap, trace a horizontal line on both sides. This line is where you will set the depth of the sheath. Then draw another line from one side of the sheath, down around the bottom, running below the staples, and back up to the top, creating an outline. This line creates the shape of your sheath. If you want the whole thing to be rigid, then square the corners. I chose to round the corners and used the tape to square it off.

Setting the depth and overall shape of the sheath
Once you’ve traced your outline, use your knife or a pair of scissors to cut away the excess. The sheath should be taking shape at this point. With the excess cut away, give it a test fit. Make sure to leave yourself some wiggle room, as it’s going to expand a bit at this point, but it won’t once you add the tape.
The last step is to wrap the whole thing in tape. Take your time with this and get the edges lined up as neatly as possible. Also, wrap it as many times as you want. More layers makes it more durable. I double-wrapped the whole thing; twice horizontally and twice vertically.
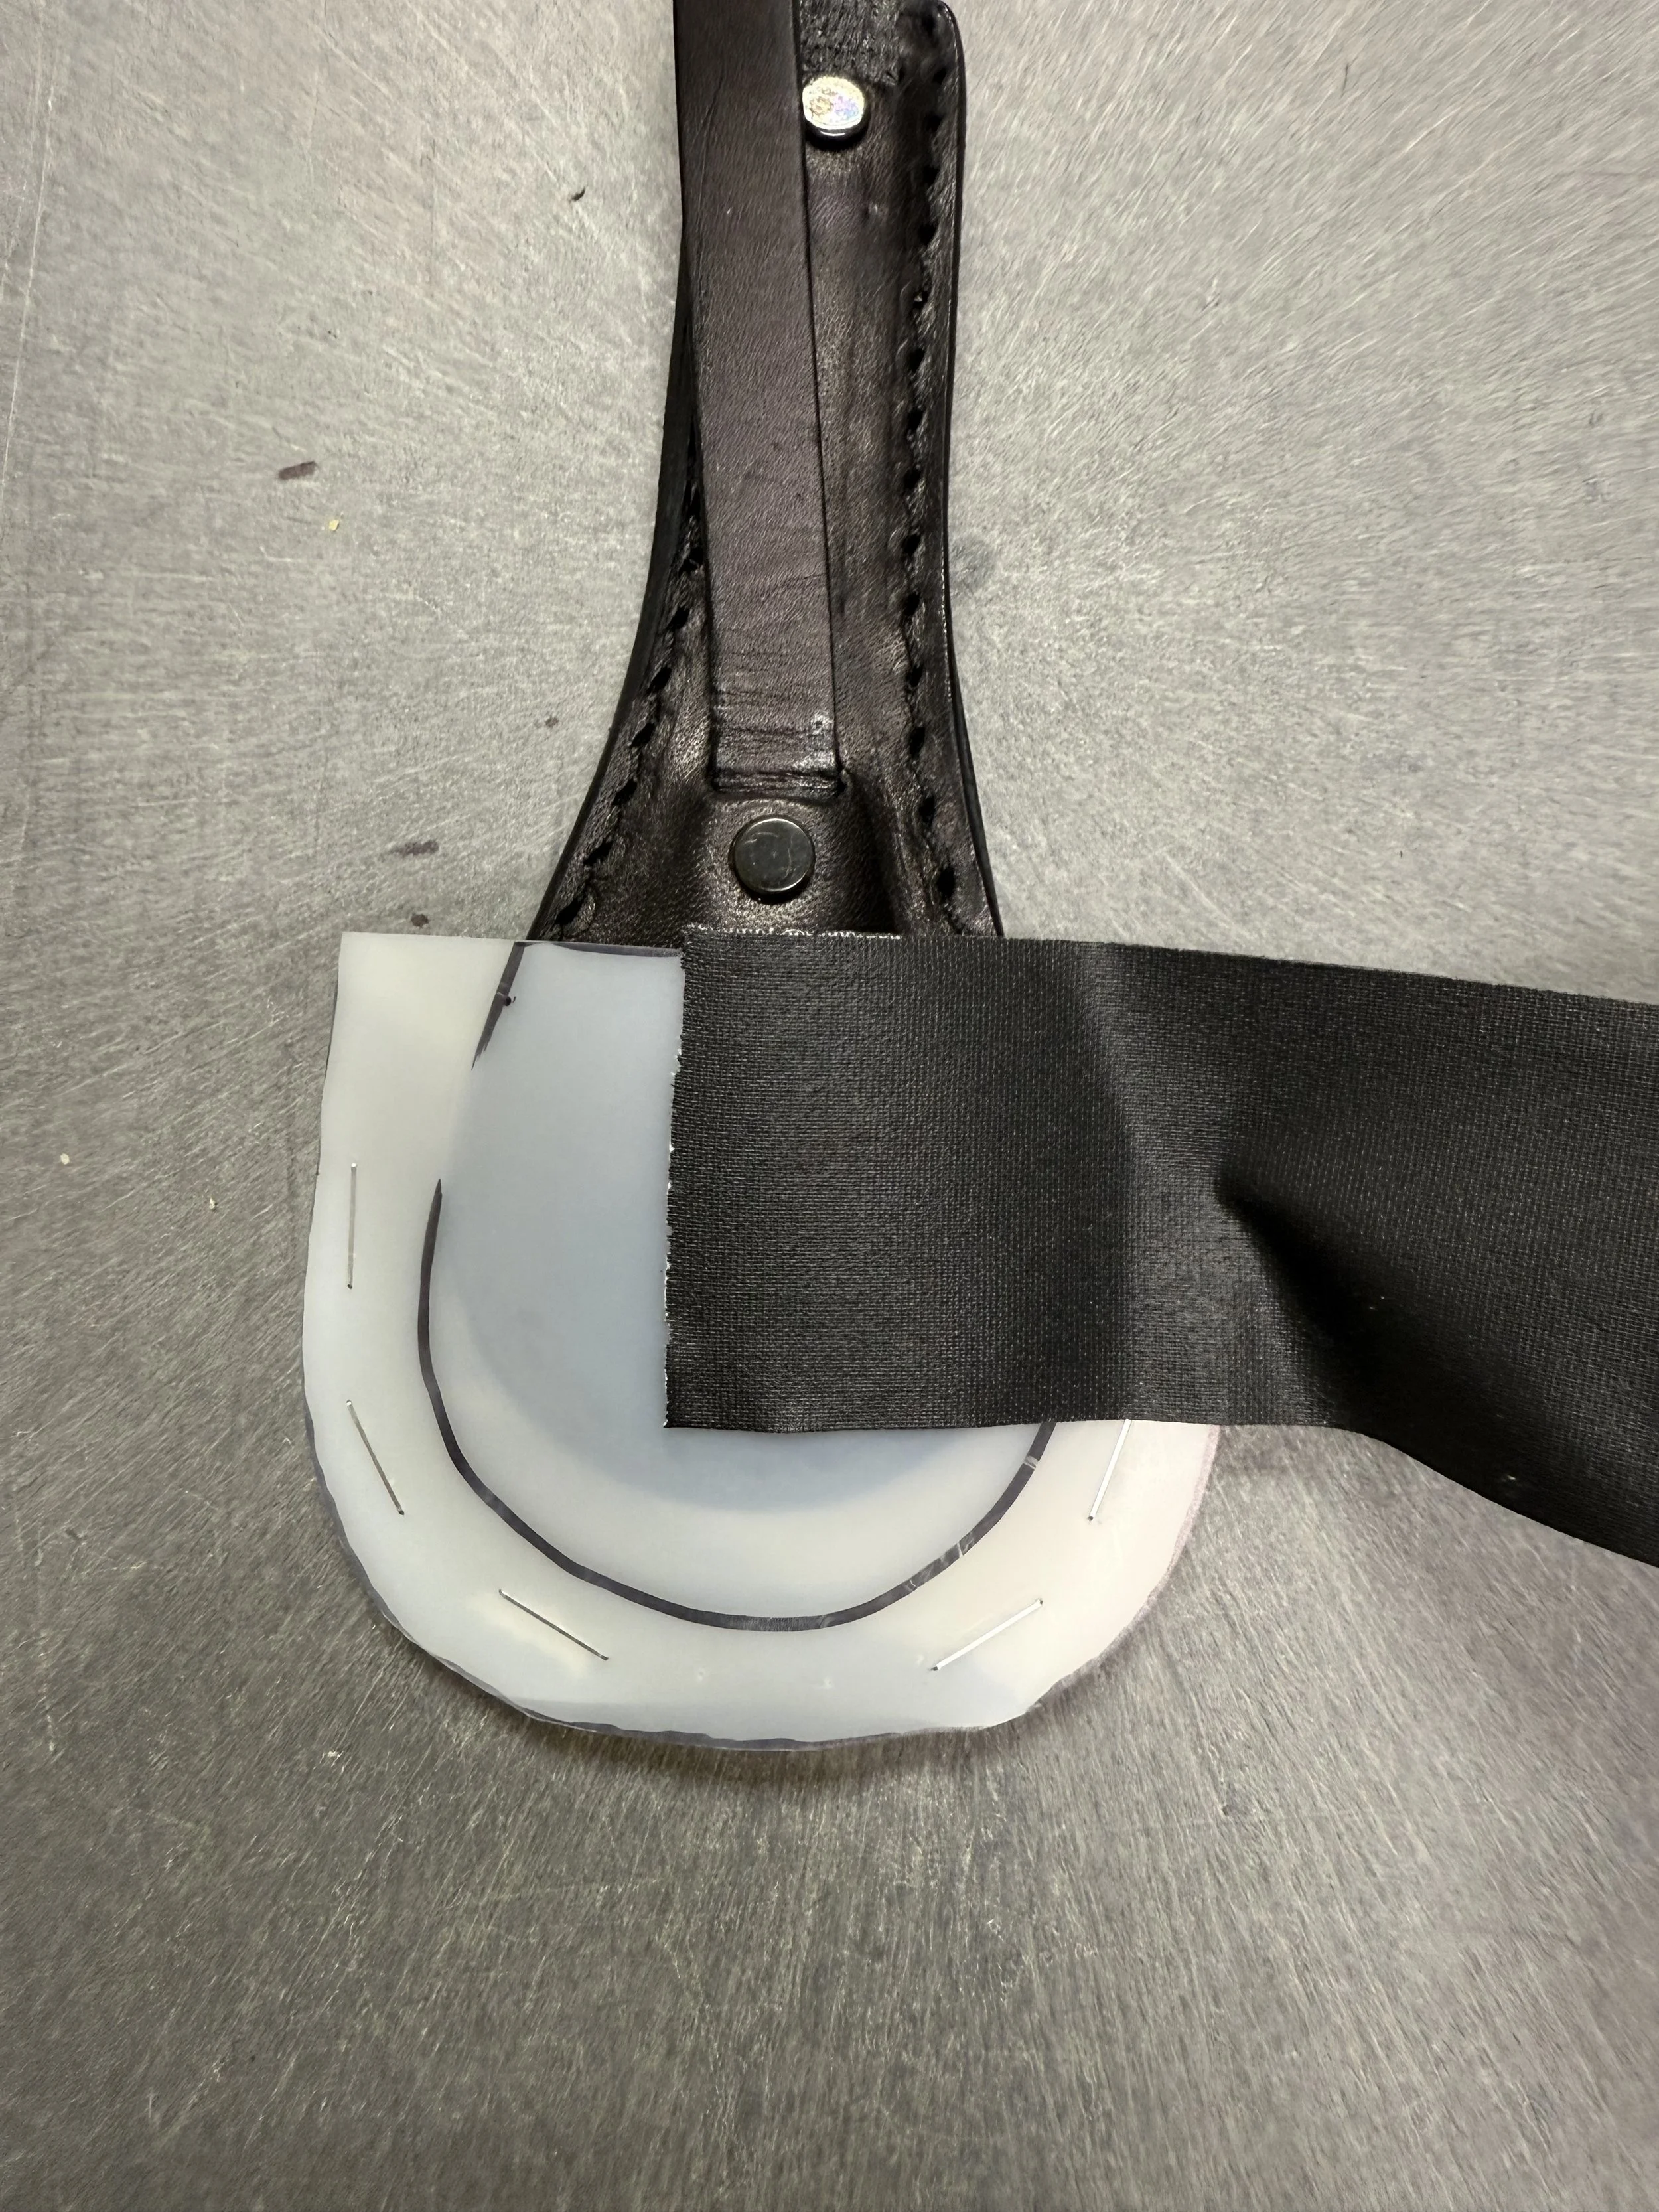
The start of the first horizontal wrap

The vertical wrap gives a soft edge to the opening for less wear and tear on the sap

The final product
The final product turned out pretty well. The squarish outline sits nicely in the pocket and prevents the sap from tilting from side-to-side.
Some last thoughts on carrying a sap. The one I carry most is made by Growing Up Guns. It has a pocket clip, which solves the orientation problem almost entirely.

My EDC Sap from Growing Up Guns
The other part of this project (which I haven’t gotten to yet), and the topic of my conversation with Guy Schnitzler, is NPE carry. NPE stands for Non-Permissive Environments. The idea here is that if I find myself in an NPE, that means I’m not likely to be carrying a firearm, which frees up a spot in the appendix position.
I stole this idea from Greg Ellifritz when he wrote about it here. Basically, by adding a few holes and some cordage, this sheath could be made into a slip sheath and worn in the appendix position for deep concealment. (If there are any kydex companies out there willing to make one for me… please and thank you!)
There it is. A fun project that’s easy to do and serves a constructive purpose. Have fun with it!