
Modifying the Taurus 856 UltraLite
The Taurus 856 UltraLite is a 6-shot .38 special; and it’s a great, slightly more affordable, competitor to the classic Smith & Wesson 5-shot Airweight J-frames. It has the added bonus of having an additional round capacity (856 = Model 85 with 6 rounds).
Out of the box, the 856 UltraLite is a pretty good small frame revolver. Its light weight makes it easy to carry. And holsters and speedloaders are readily available for it. My only complaint is the exposed hammer makes it less than ideal for pocket carry, but that’s a minor thing. Aside from that, we’re going to look at two changes I decided to make to the gun.
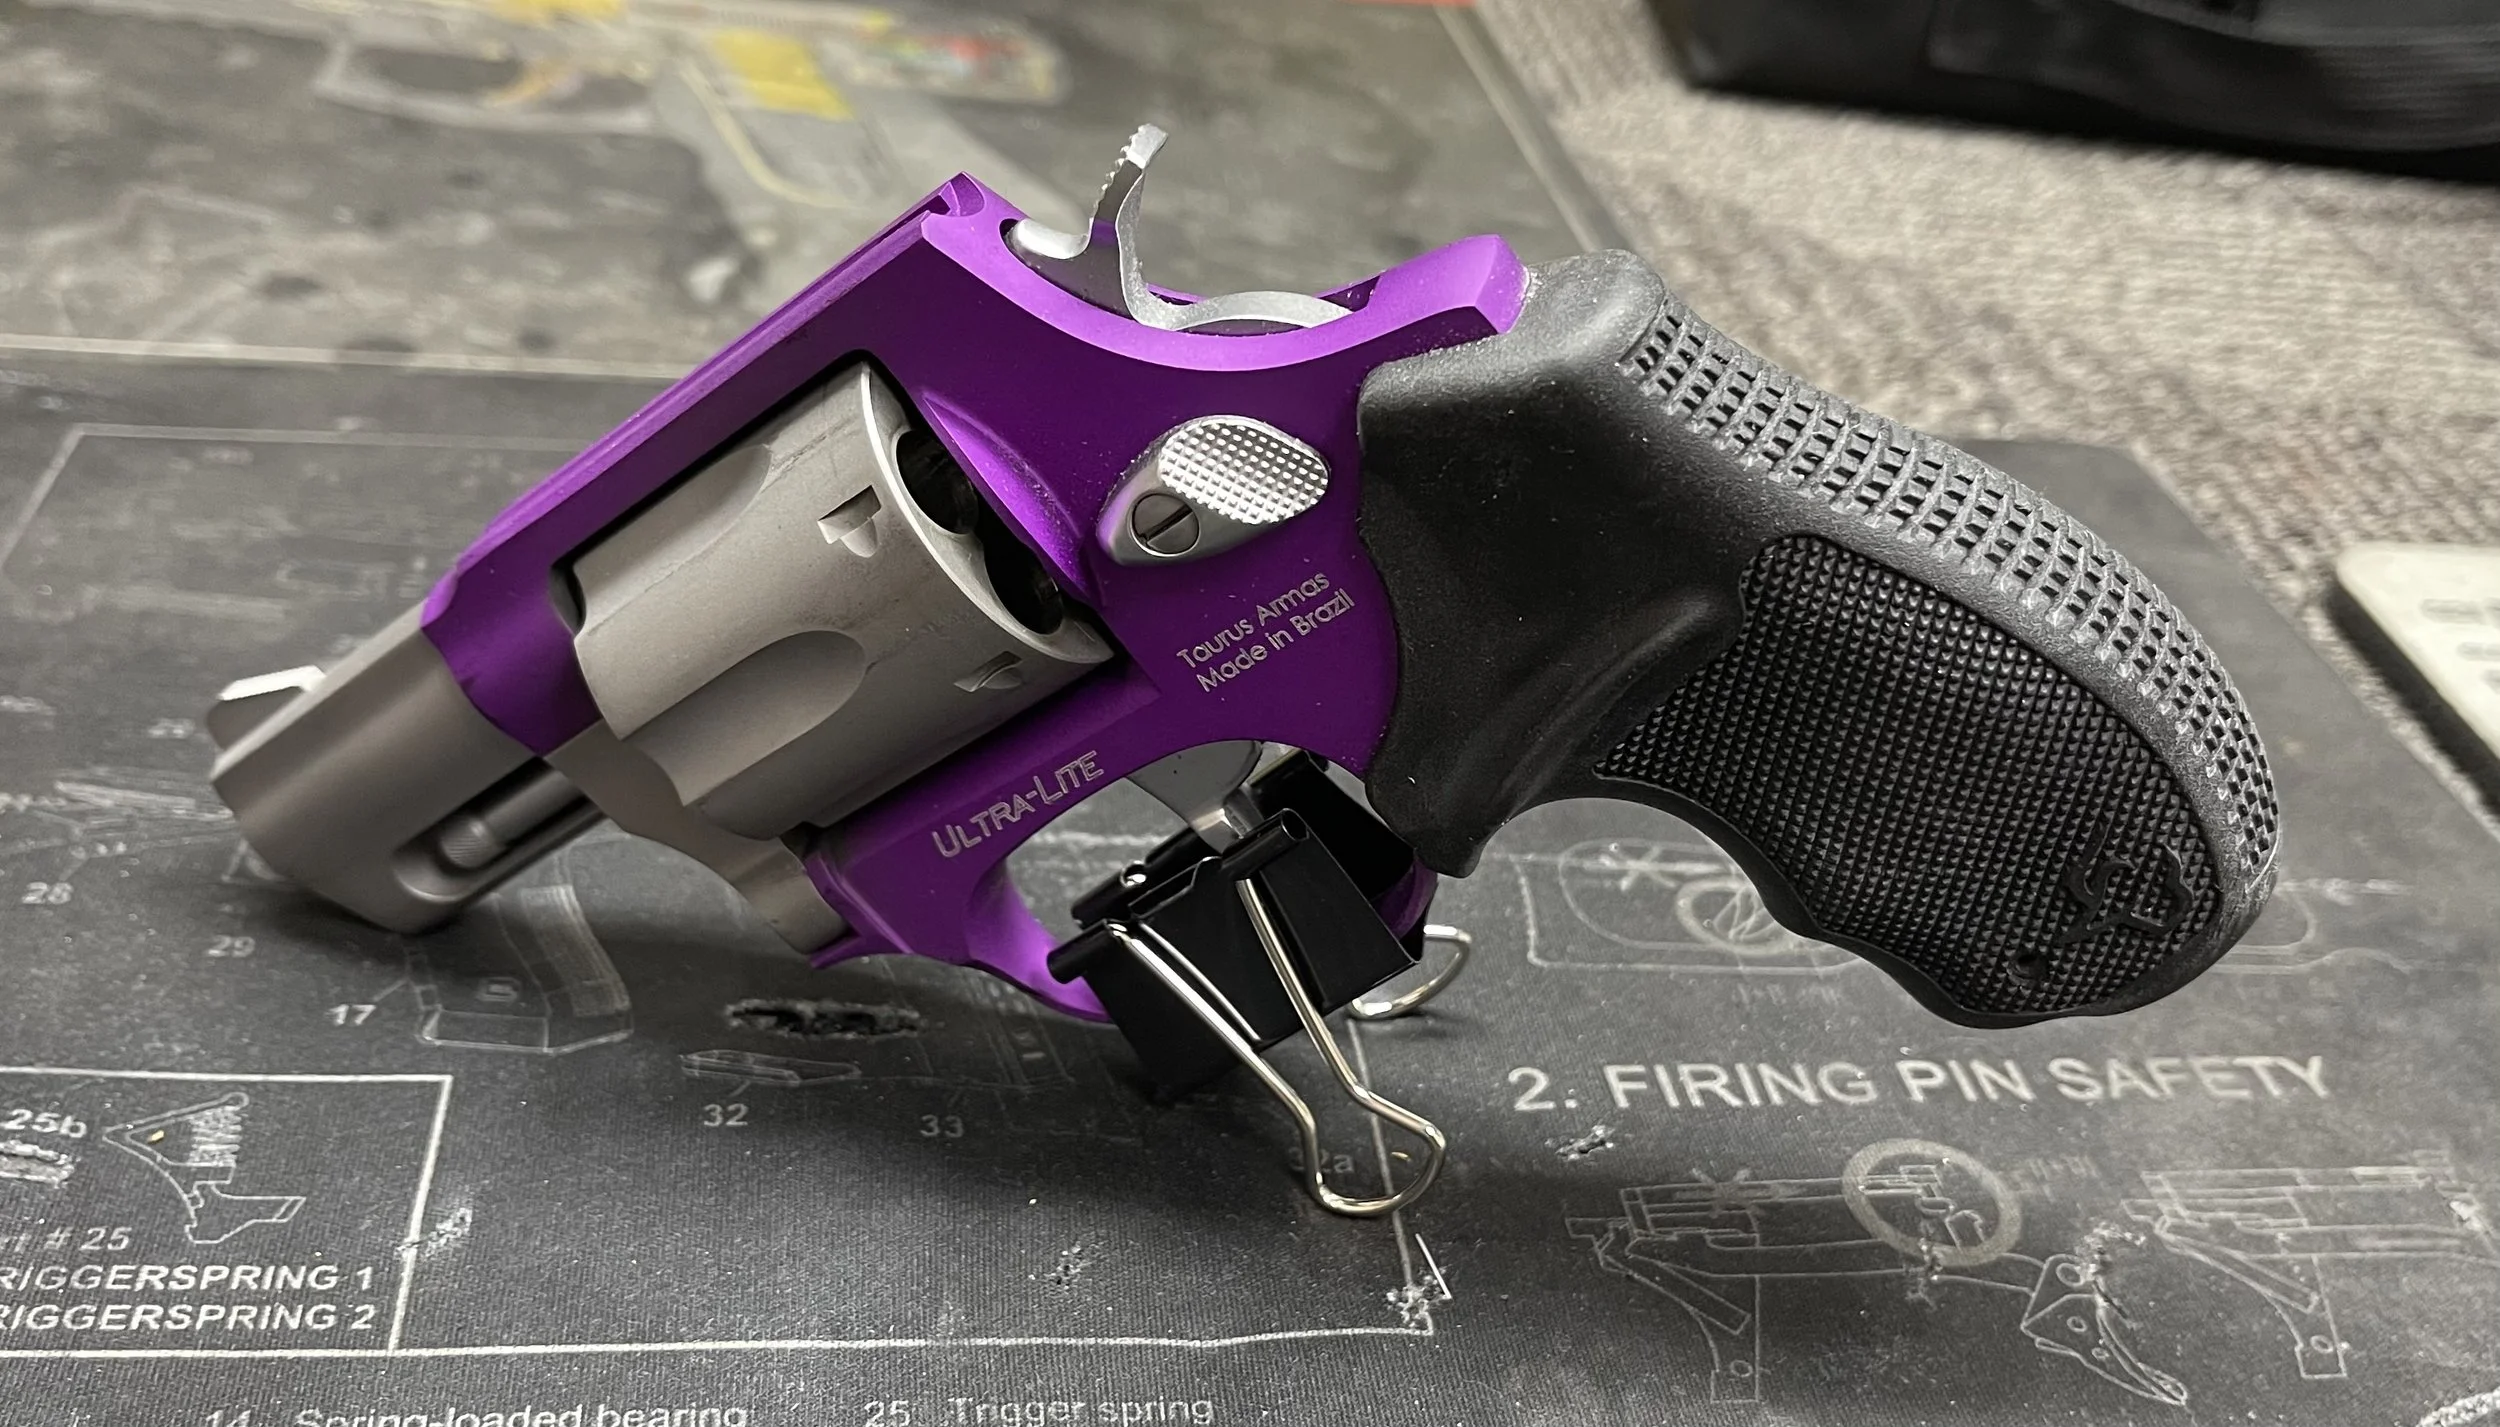
The Taurus 856 UltraLite, as it comes. (Yes, I own a purple gun. I also own a pink one. So what?)
The first modification we’re going to look at is the stocks (or grips, as they are commonly called). The stocks that come on the gun are okay. They have lots of good texturing and checkering on the back and sides that enables a good purchase. However, there are a few issues I have with them.
The first issue is that they are a single piece, wraparound style that leaves a gap at the top of the backstrap. You can see that gap in the above picture. While it may not be a problem for everyone, I found that it was uncomfortable and often caught the web of my hand when establishing a high grip on the gun.
The second issue is the shelf on either side of the stocks. It juts outward from the side on both sides of the stocks. When I shoot revolvers, I use a tucked thumb grip, and this shelf interferes with that pretty severely.
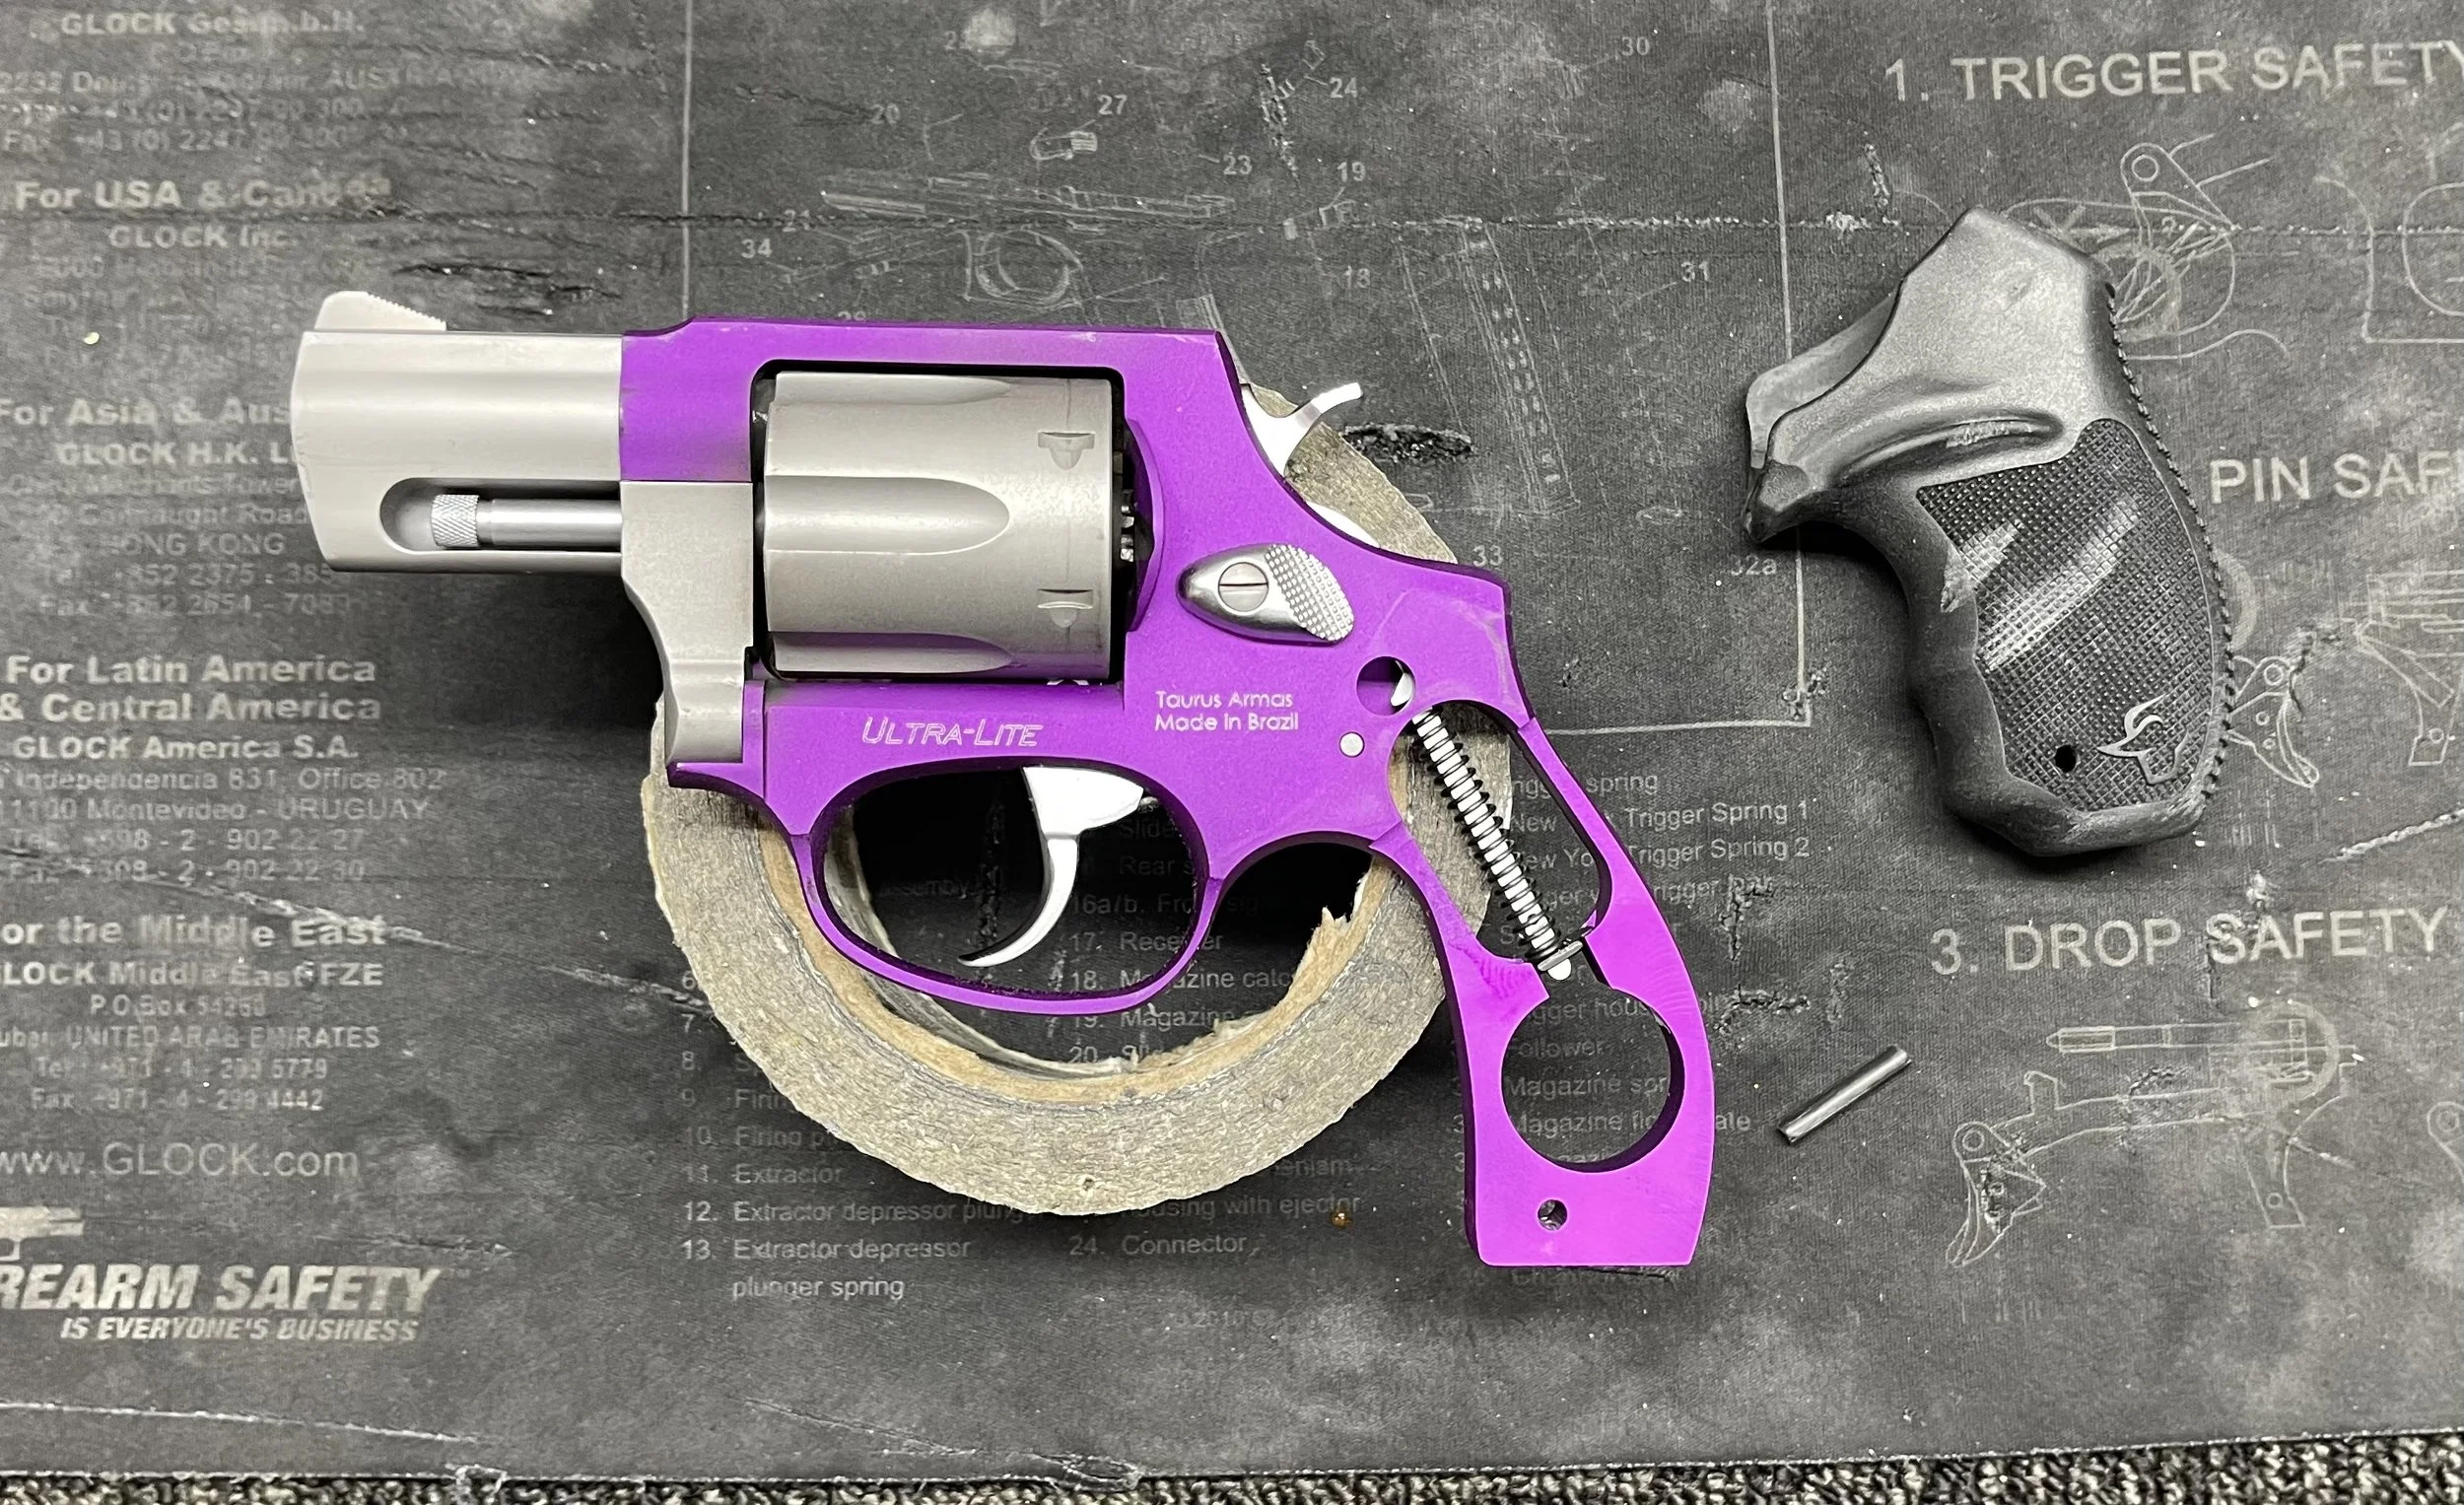
Removing the factory stocks is as simple as driving out a roll pin with a hammer and punch and then pulling or sliding them off the bottom of the gun.
Thankfully, swapping stocks on the Taurus 856 UltraLite is fairly easy, and there are plenty of options out there. VZ makes several versions in G10, with or without texturing. But my favorite stocks (I have them on Taurus, Smith & Wesson, and Ruger small frame revolvers) are made by Hamre Forge (pronounced Ham-ree, but everyone calls them Hammer Forge). I get them with the Hamre Hook, but you can also order them standard or as a full set.

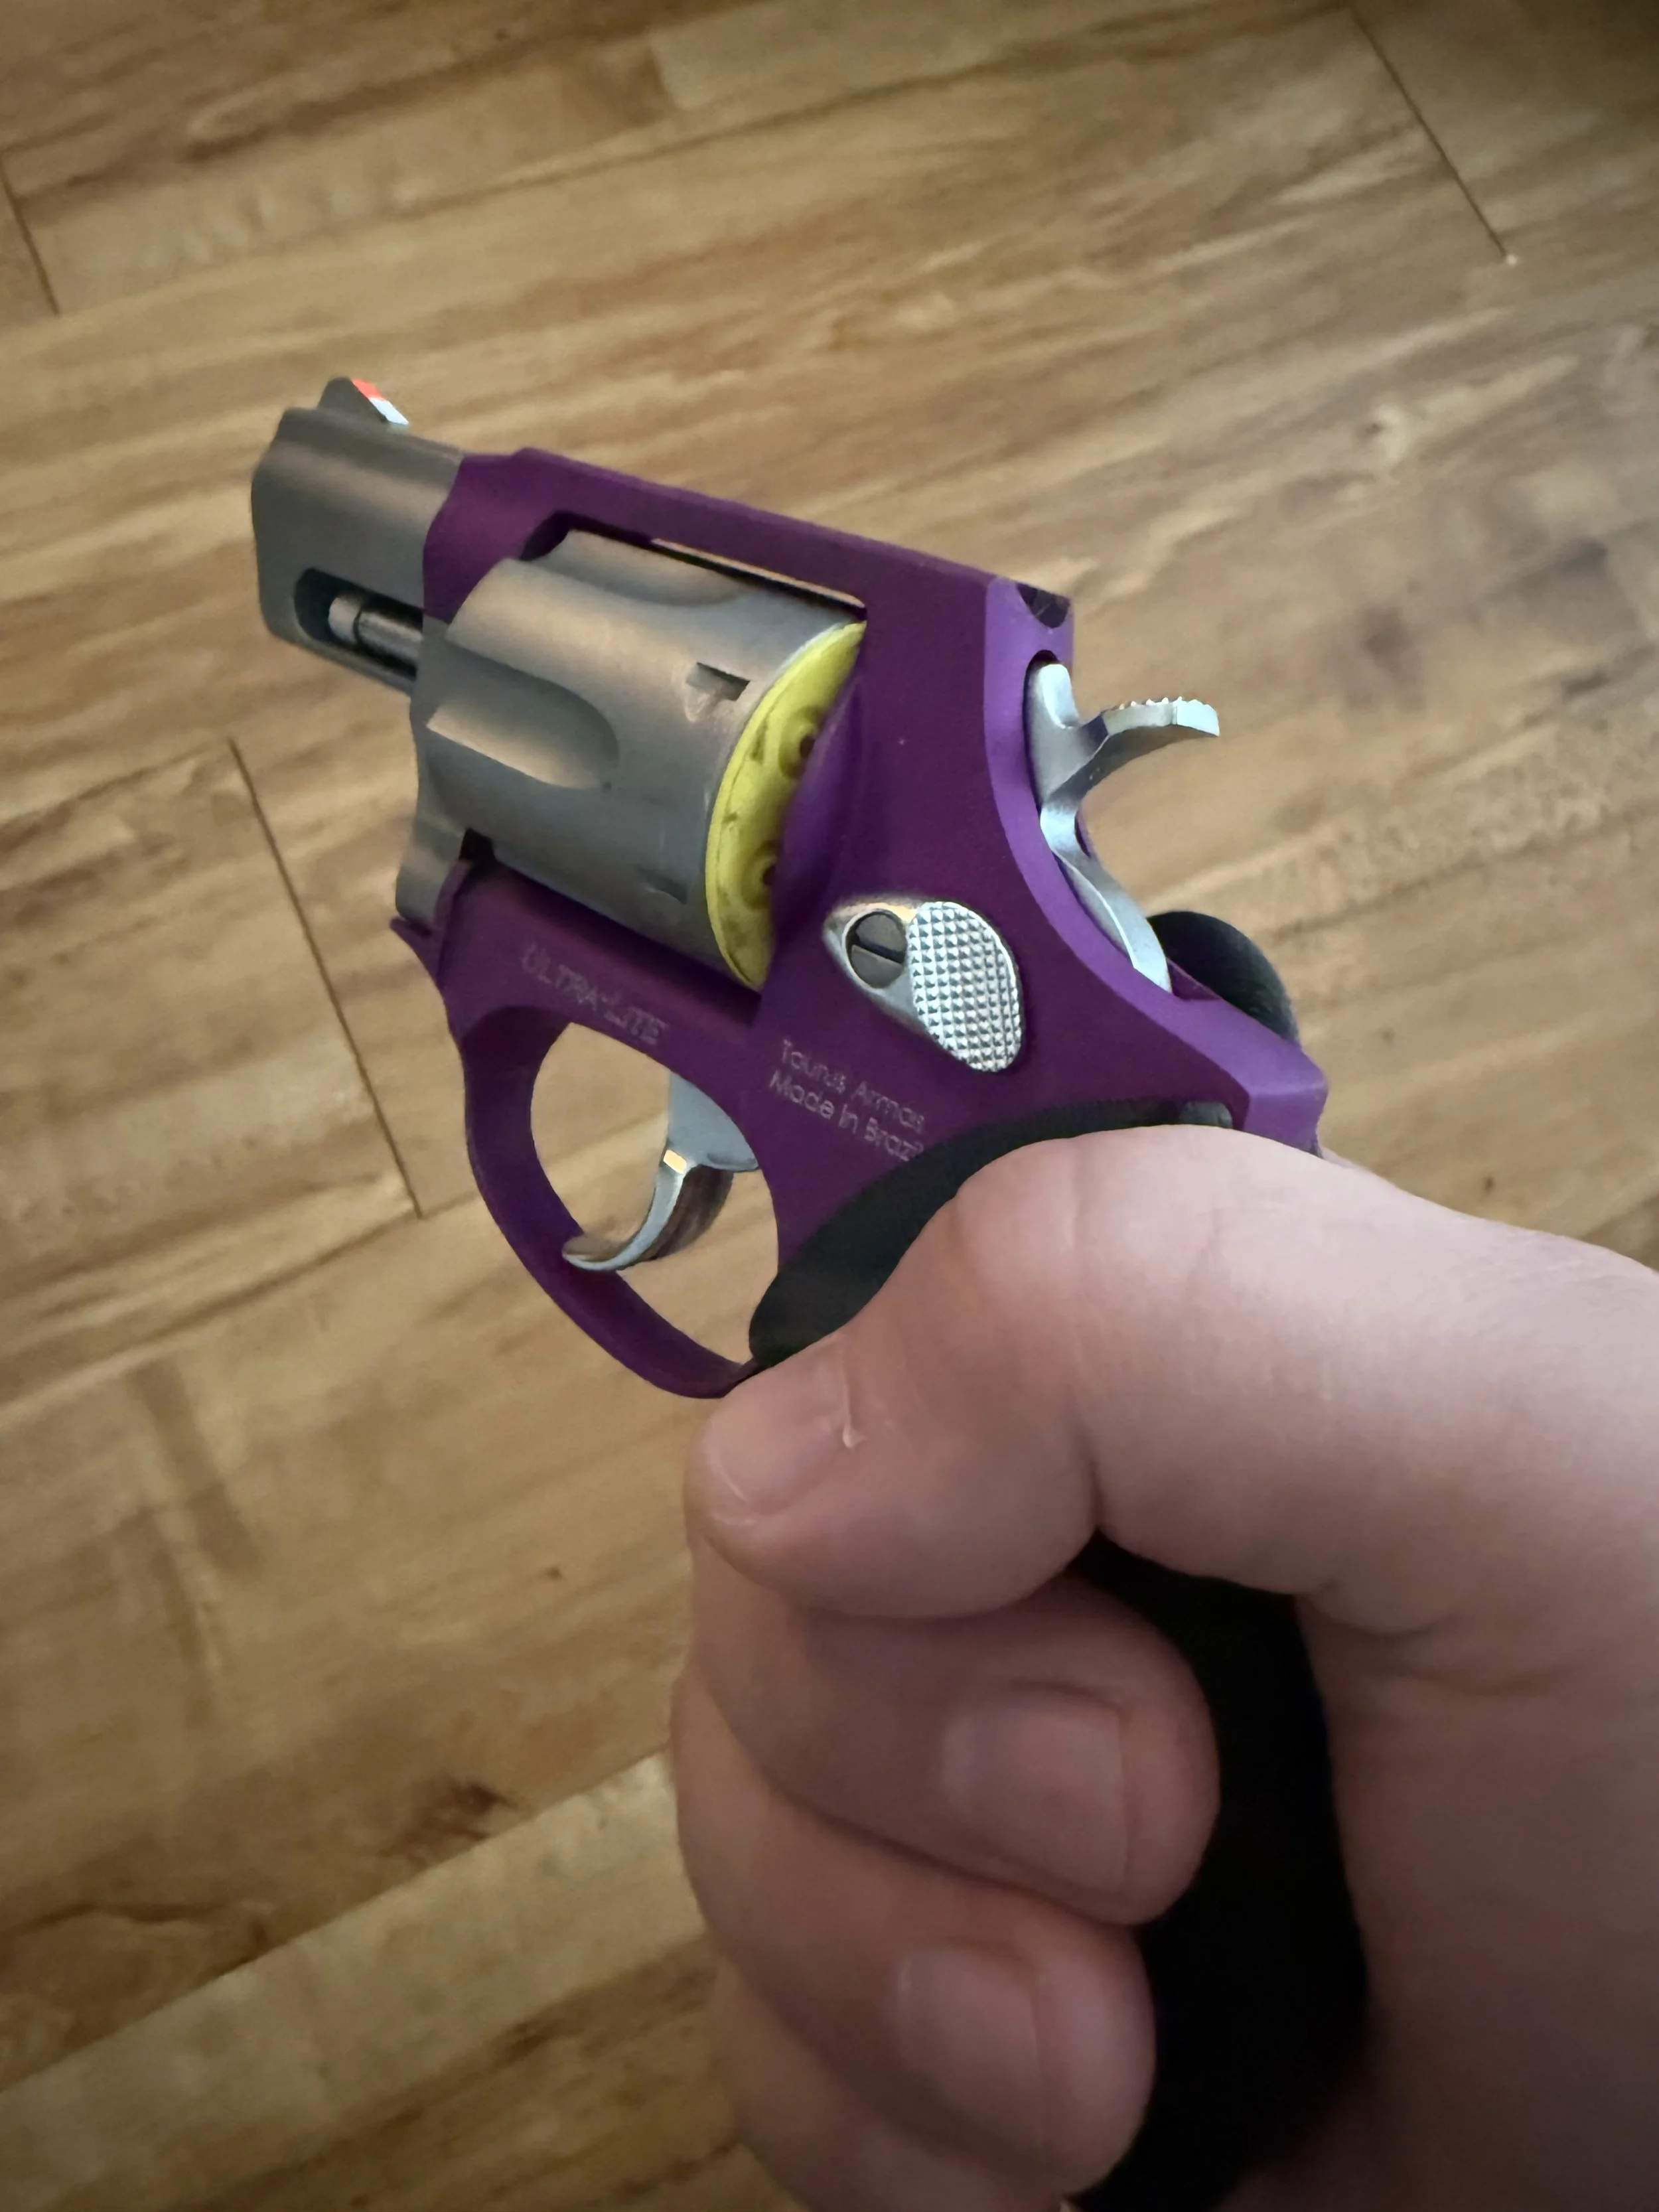
The Hamre Forge stocks with Hamre Hook, installed on the Taurus 856 UltraLite. Note the fully exposed backstrap.
While the Hamre Forge stocks have less texturing (actually, none really) than the factory ones, I find that they fit my hand better. They have a rounded contour that fills the palm of the hand. The now exposed backstrap allows me to get a higher purchase on the gun with no discomfort. And the Hamre Hook allows for the ability to carry it IWB without a holster in a pinch. They are also easily installed by connecting the two sides with the included screw.
The second modification we’re going to look at is the sights. I have seen worse sights on a handgun (the Ruger LCP comes to mind), but there is definitely room for improvement. The front sight is a plain Jane ramp style sight. No coloring, and unfortunately on my model, not replaceable. Newer versions have a replaceable front sight, in which case I would recommend XS Sights in either orange or green. I have them on another Taurus revolver, a Ruger LCR, and a Smith & Wesson J-Frame. They are fantastic.
Since the front sight cannot be replaced on this gun, I decided to paint it. This is a fairly simple and relatively inexpensive modification. You will need a few things: model paint, some form of degreaser to clean the front sight, and a brush. I used this kit, which includes several different colors as well as a sight cleaning solution. You could also use model paint from Hobby Lobby; I’ve also heard of people using nail polish.
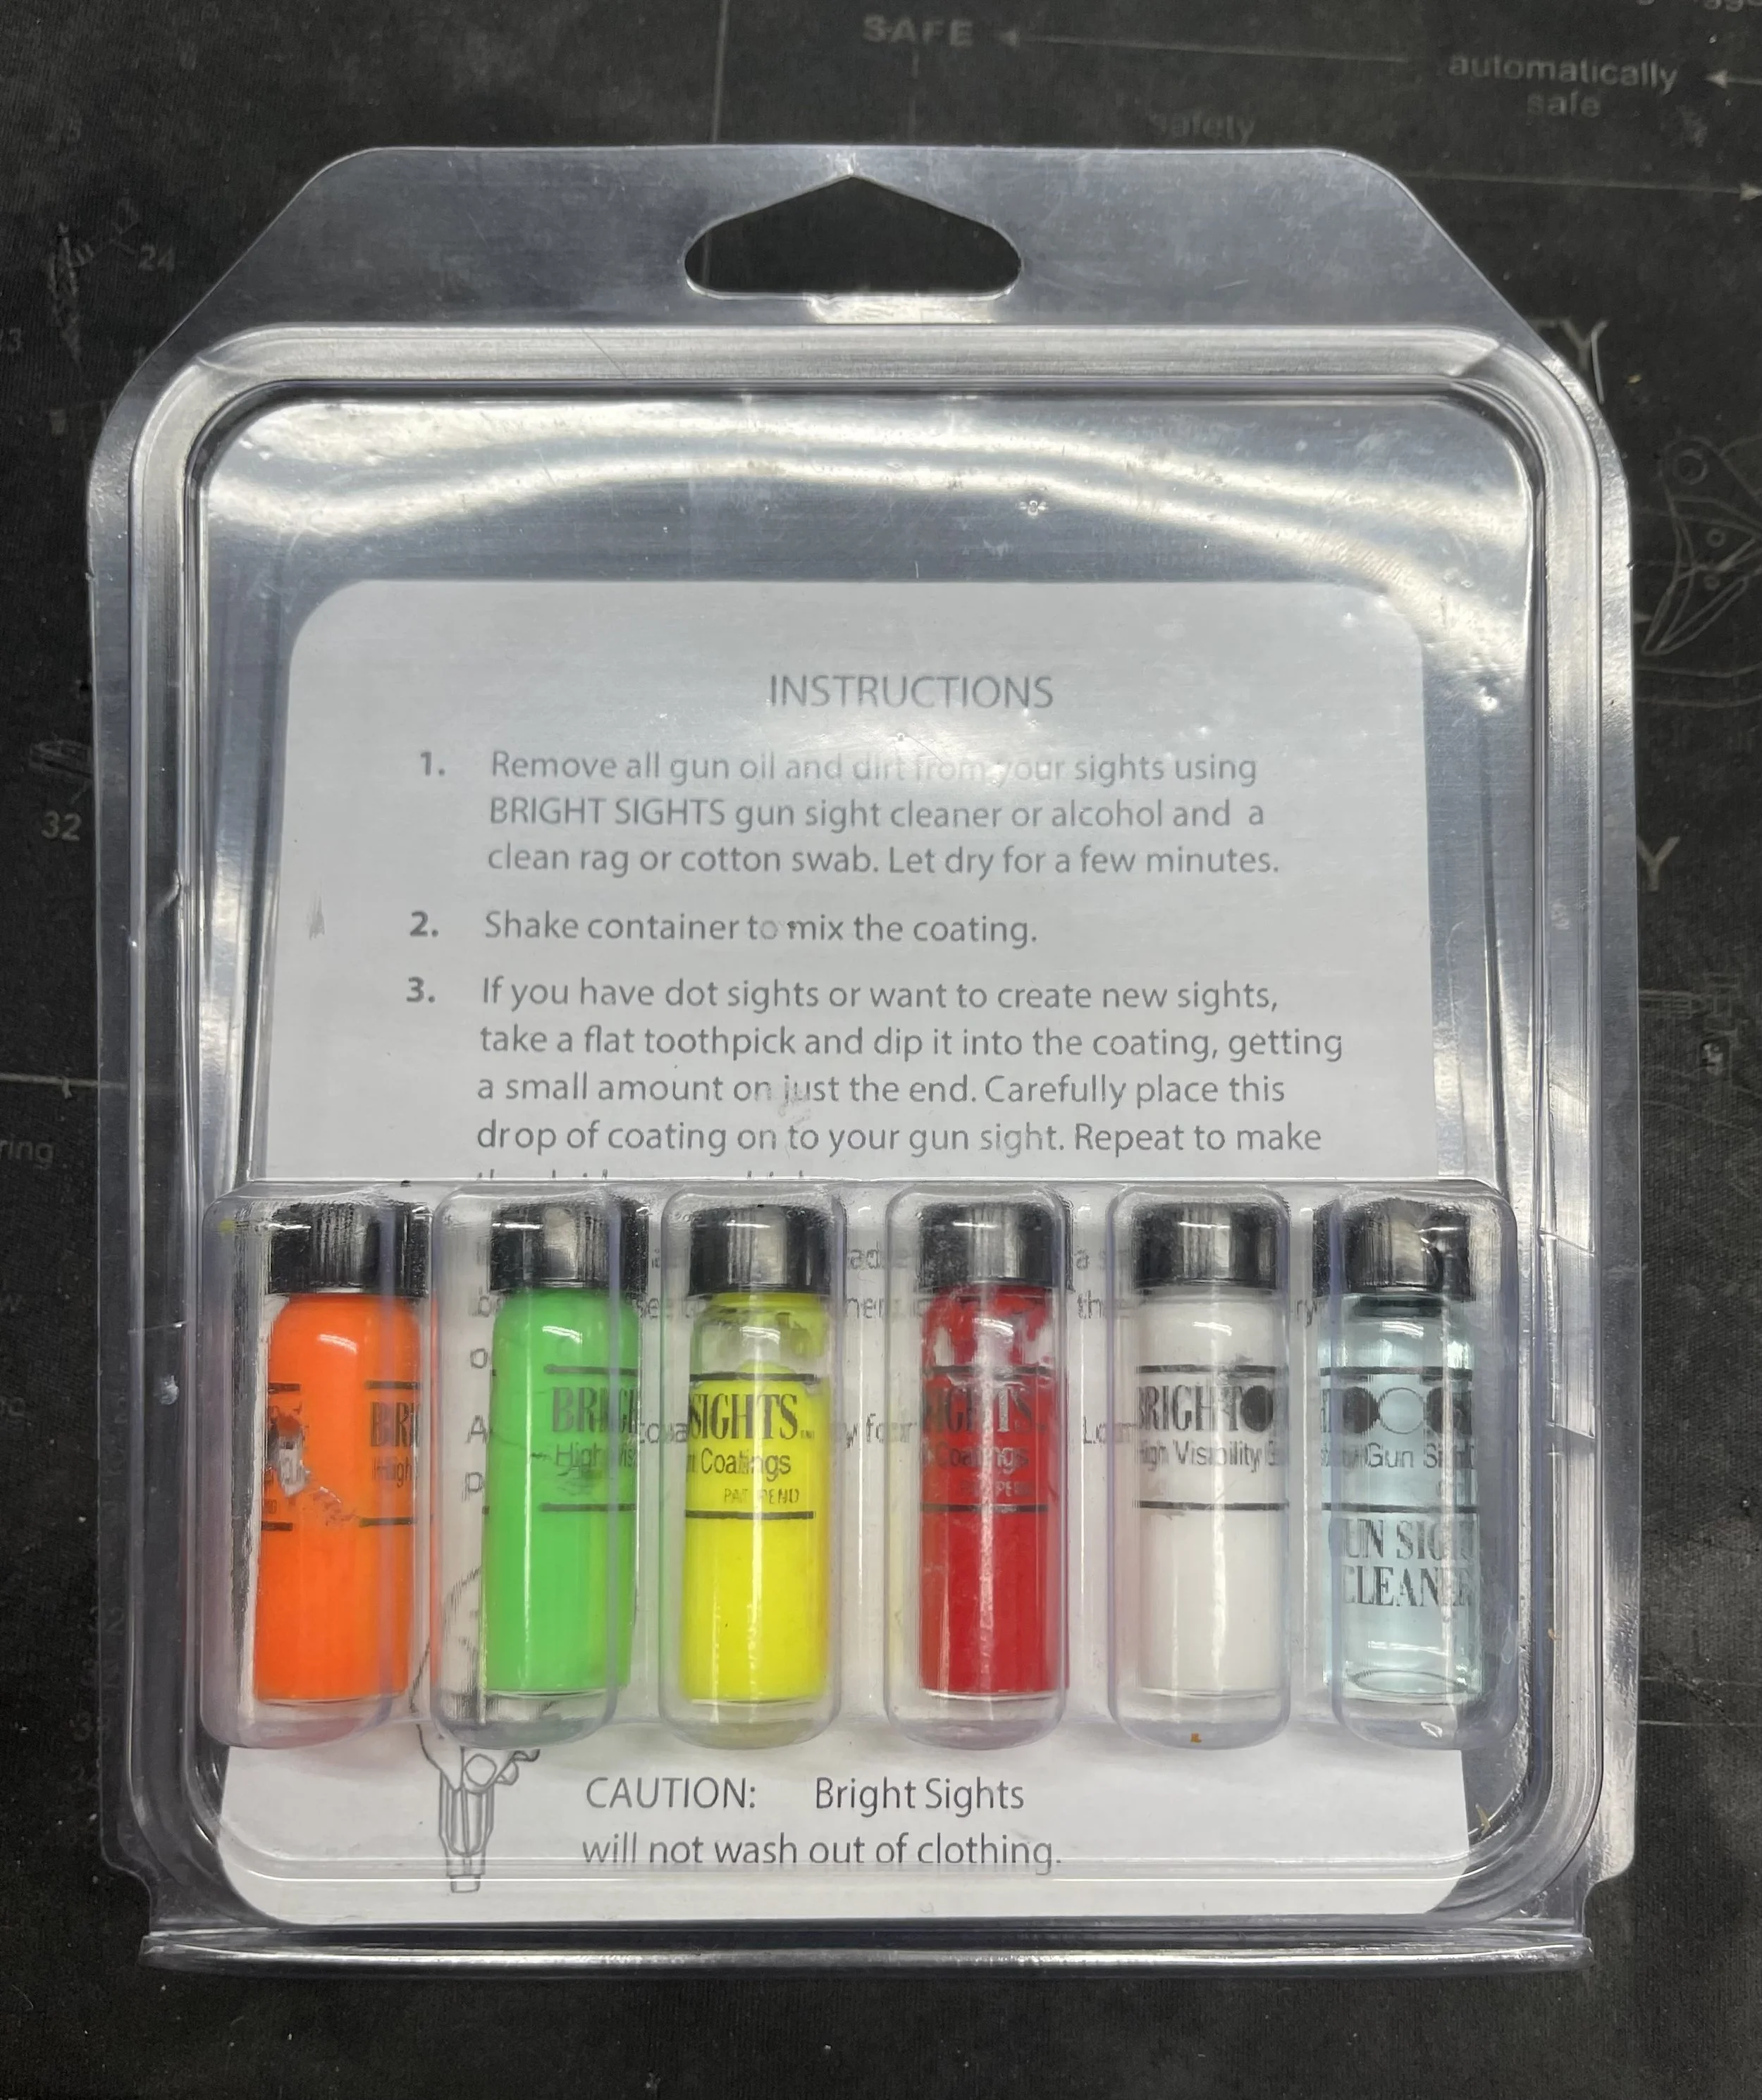
The Bright Sights kit has everything you need, minus the brush.
As to what color to paint the front sight, pick something that can easily be seen. I went with green because it is the easiest color for the human eye to see. Other commonly used colors are bright orange or bright yellow.
For the rear sight, I wanted to add a bit more contrast. I used a black sharpie to outline the notch in the rear of the frame. This aids in getting a quick sight picture, similar to using blacked-out rear sights on a semiautomatic pistol.

The new sight picture, post modification. Also note the contours of the Hamre Forge grips.
Overall, this was a fun project and the gun is much more shootable as a result. However, the story doesn’t end here. There are two things I would do differently if I was to do this again.
Number one: use a real brush. I was lazy and used q-tips to dip and spread the paint. While it worked (eventually), it was a time-consuming process to get the paint to spread evenly and not glob up.
Number two: do a base layer in white. I don’t know why I skipped this step (again, probably just being lazy), but I ended up having to do several layers of the green in order for it not to look transparent. After the first two layers, I could still see the grayish color of the metal underneath the green paint.
Here’s where it gets fun. I have mentioned him on the blog before, but Claude Werner, AKA the Tactical Professor is a fantastic resource. Here is one of many articles he has written on the topic. But you should really subscribe to his Patreon for even more info.
Story Time! A while back, Claude posted some articles on his Patreon about some revolver comparisons he was doing. Someone asked him if he would do the same testing compared to a Taurus UltraLite. He said he would, but he didn’t have access to one. At that particular time, I was signed up for an upcoming class with Claude, so I messaged him and told him I would bring mine to him and let him borrow it for the testing.
Since we were both attending TacCon 2025, we agreed that would be the easiest way for him to return the revolver to me. We met up at the conference and he said, “I have your heater.” He returned it to me in better condition than I gave it to him. It was in a zip-up case and he had placed one of his Zeta6 SafeSnaps in the cylinder so it could easily be seen that the gun was unloaded. And the kicker… He painted the sights! I now have bragging rights that Claude Werner personally modified one of my guns for me.
In the above image, you can see Claude’s orange and white paint scheme, as well as the Zeta6 SafeSnap.
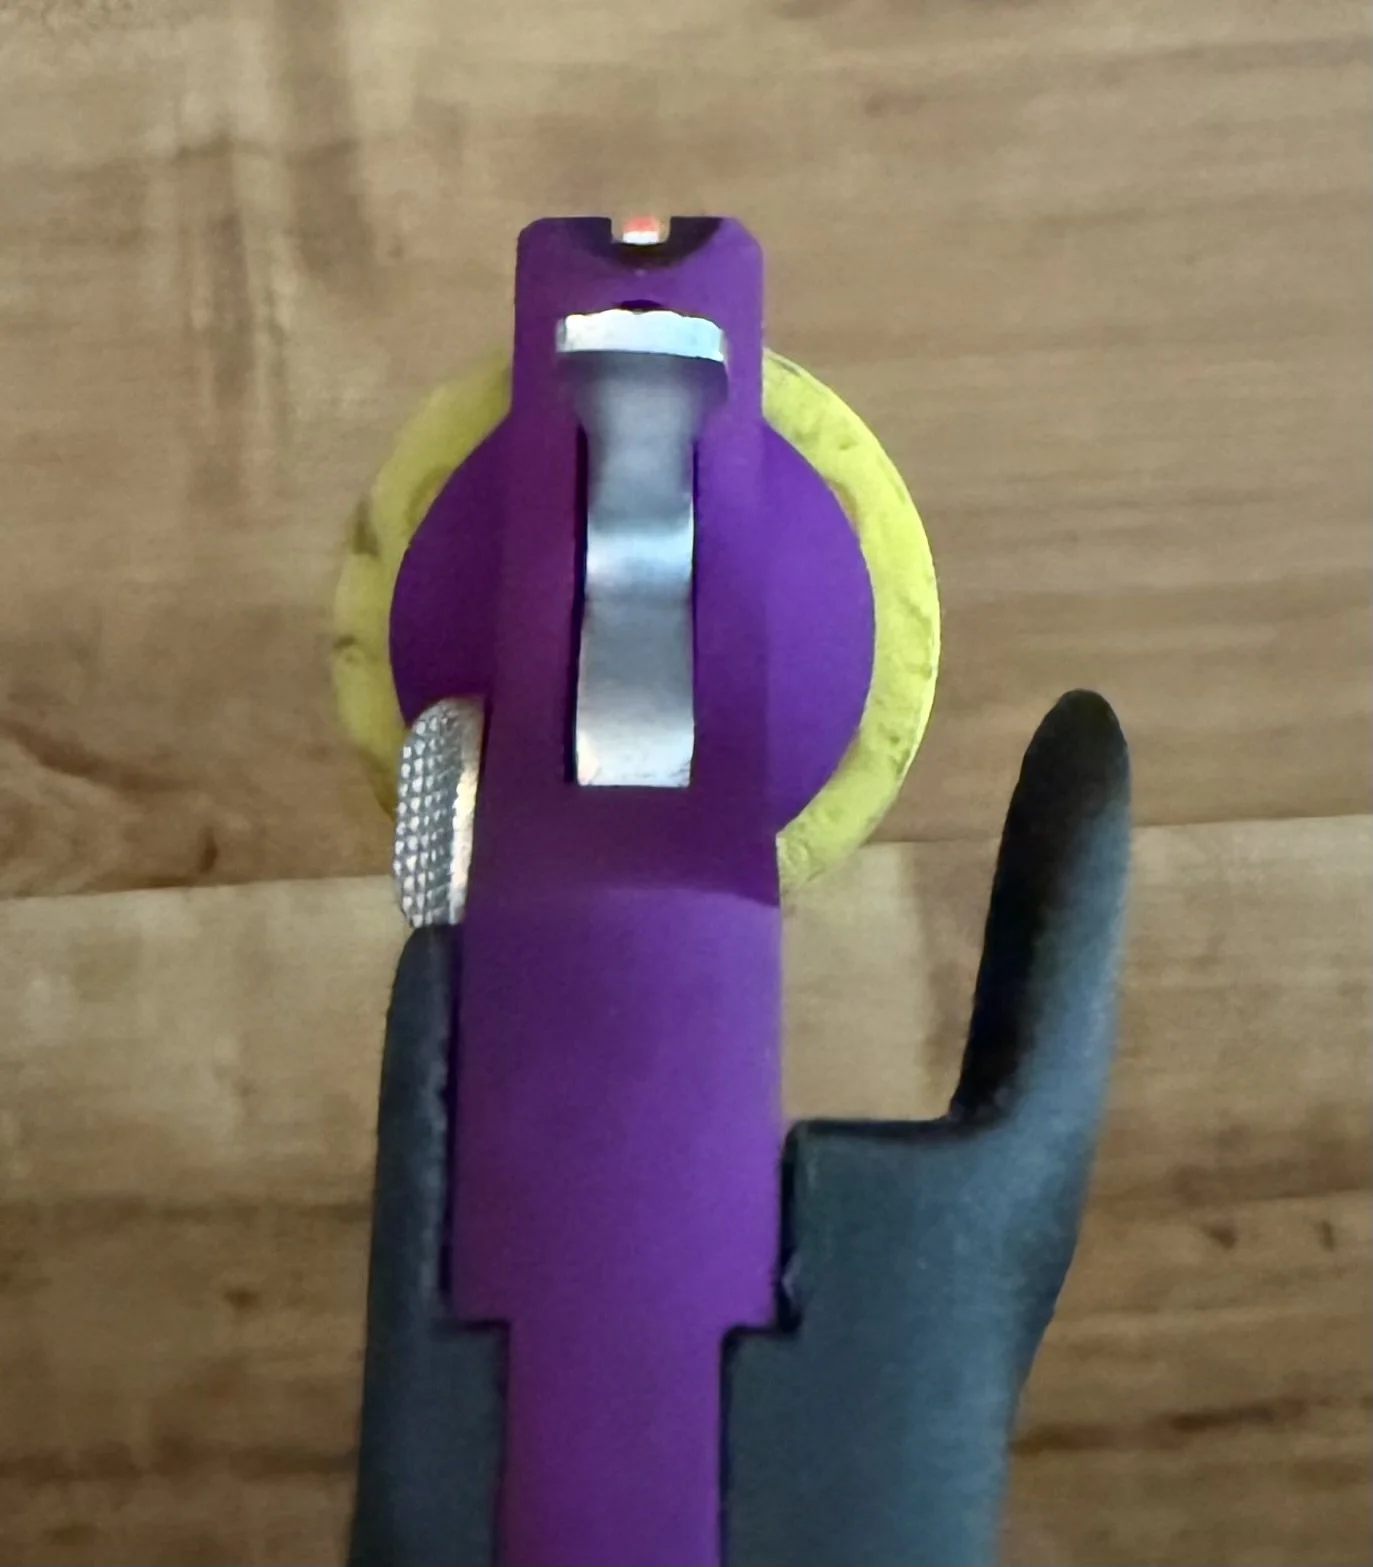
It’s tough to get a photo, but essentially when the white disappears, you have the ideal sight picture.